Sunday 23 December 2012

Christmas eye art/detail.

So for the past two weeks for my lessons I have been turning up to college with different Christmas themed eyes...and it had been a challenge to come up with different images. Its also been a test of my patience, as the images aren't massive.

The main products that I have used to create these looks have been Illamasqua's eyeliner in "Scribe" and also their sealing gel which allowed me to make all sorts of different coloured eyeliners and lots of glitter and gems! So here are some of the  images of the eye art!

First is my favorite look, the candy cane eyes. Done using Illamasqua's white liquid liner ("Scribe") and then mixing eyeshadow in "demon" with the sealing gel and creating that lush rich red liquid liner. 
 Next is a requested one, ginger bread man eyes. Which was really difficult to come up with a colour theme as am usually using quiet bright colours so I just went over the top with golds...shiny shiny!
 Holly eyes...love this look. I think its the metallic green lipgloss that does it...Illamasqua Sheer Lip gloss in Violate which is a gorgeous dark shimmery green colour. Again sealing gel is you hero product for this look!
 Very Christmas-y using white mascara from Stargazer.
 Glitter bug! Multicoloured glitter is amazing for creating an good eye catching party look.
And finally Rudolf eyes with snowflakes...

Hope you liked my Christmas eyes...any questions about what products were used just send me a message.

Don't forget to check out my facebook page: http://www.facebook.com/Ruth.E.Moulden.MUA

xRx

Saturday 22 December 2012

Airbrushing lessons...the fun of being creative!

So I have been meaning for a while to upload the fun I had teaching my Media Make-up Level 3 airbrushing skills and how to make stencils for airbrush art/tattoos etc. So here it is...

My level 3 are such a laugh in the classroom and so creativity so I knew they would love airbrushing. Its one of those skills that once you get over the beginning frustrations of learning how to actually work the gun, positioning your fingers over the trigger till its comfortable and being able to confidently control the air flow and product release to create gradation of colour its one of the best skills to have as a make-up artist.
One of the main lesson that took my students along time to get use to was to turn off the product and air flow gradually instead of just "clicking" the trigger back which will block the gun up and could end up ruining the needle.
They all use a double action gun which is basic and I feel the best tool for learning detail make-up applications as well as basic foundation and colour work.
My airbrush gun which I can highly recommend is the Iwata silver jet compressor with the Revolution BR gravity feed gun. I can confidently say I have never had any problems with this kit, its always easy to clean and easy to disassemble and reassemble. As well as being easy to control and handle. 
The products am using for the coloured work are Temptu Dura and Aqua based but I'll put up a review on airbrush products at some point with more information on the different ones.
Now during one of my lessons on airbrushing (after we covered the history, how it works, the different equipment available, products available etc) we looked at creating stencils. Because I am an arty person, I love doing this. Be it for hair art/tattoos/body art love it! And its so simple. You just take a craft knife, a piece of plastic sheet or card and a good design, just cut it out...carefully! and voila!


 To applying it, you need an alcohol based airbrush product...which will make it last for about a week or 2. This product is fab for creating tattoos or hair art however as it is alcohol its very drying so be careful not to put on already dry areas or on the face. If you want it on the face I would recommend silicone as its less damaging. If you don't want it to last for ages or are sensitive use the water based ones. If your applying a big stencil then take your time, airbrushing is patient thing, don't go rushing it or you ruining the look, take one area at a time.
 My student wanted the "tattoo" on her belly, it was meant for the back but meh, her choice!
Another examples of tattoo art created using my very own hair made stencils (more can be found on my facebook page):
To remove you either use isopropyl alcohol or body oil which is much kinder to the skin.

Now hair art, same principles as the tattooing only in the hair, sometimes a white base colour is needed before applying the art/stencil but if your model is blonde then its ok. This one is stencil work:
This one is free-hand work:
And all hair art is washed way in the shower!
 
 The beauty of airbrushing, I think anyway, is that you can create anything in such a quick amount of time. You can turn your model into a work of art. And for body art its so quick to apply the colours. Best thing is airbrushing still allows you to create detail work.
This is another demo I did on creative make-up which am hoping they will be inspired to create their own crazy creative work after the Christmas holidays for their summative work:
Airbrushing is one of my favorite ways of creating a make-up look however this isn't saying I favor it above traditional techniques...they are the basis for everything.
xRx

P.S. Don't forget to check my facebook page for more photographs http://www.facebook.com/Ruth.E.Moulden.MUA ...next blog will have my Christmas style eyeshadow art. 


Wednesday 19 December 2012

Final Vintage Fair of the Year and Nail art!


 Another vintage fair done...and the last one for this year. It was another Betty and Co organized one and yet again a fabulous day out. I met lots of love people there and did a few treatments that made people smile so that makes me happy! 


I have to add in this little blog that I had the most amazing cakes at the fair. They are by the fabulous Lisa Van Damms, http://www.facebook.com/LisasHomemadeCakes, and they are so nice. She made these amazing cupcakes with this rose icing on top...yummy and her Christmas cake was the best ever!!! 
Those of you who haven't come along to one of Betty & Co's Vintage fairs your missing out on some pretty unique and beautiful stuff and I recommend that next time you come along!!

My little pop salon did quite well, as its Christmas I was offering lots of christmas style nail art and eye make-up art.


 For most of these designs I was using my Illamasqua white and gold eyeliner as well as a tiny paint brush for other colours. I personally don't like using the nail art pens as it tends to splog out just went you've nearly finished the design so I find the best way is to use a paint brush and make sure you have a little pot for remover to touch up any mistakes. 

During the fair I had the cutest little girl wanting her nails done, just two. One with a Santa face and one with a penguin, she had the smallest nails ever and it was such a struggle to paint it on but I did it, with a lot of patience! This little girl was so happy and ran round the fair showing them off, it was the sweetest thing ever so completely worth the effort! And her Aunty and Grandma came over for a treatment!! 

My penguin nails!!
All in all it was a lovely fair as usually and hats off to Leanna for organizing another grand vintage fair and I can't wait till the next one! Am really loving being involved in the vintage fair  circuit, and gratful for all the opportunities people are giving me to be involved. Fingercrossed there will be a new fair that am hoping to be involved with around the Manchester area and I can't wait for the next Betty & Co Fair sometime next year!
xRx 

Monday 10 December 2012

Finger Waves oh what fun!

So this last week I bought some finger waving clamps (sounds painful, but there just really long hair clips with teeth.) and I have been practicing doing a finger wave. Now usually the best hair to do this in is bob length but I don't have that, I have my lovely long hair that I wouldn't dream of cutting off soooooo I created a bit of a funky, vamp hair-do with this fabulous finger waving technique.


To say it was easy to do would be a massive lie, its technically fiddly and since 2 of the clips broke whilst styling slightly annoying at times. Am going to order some more but it is possible to manipulate the hair and bobby pin it into a wave, as I did on the other side. Its all about patience with this technique. I tried not to use too much hairspray too as I wanted to avoid the crunchy, hard as rock feel, so opted for damp hair and my good old fashioned trusty pomade. 

I think it looks so 1920s vamp and its a style that I really like, so more practice and an investment of none cheapo clamps next time!


What do you think? Do you like the effect of finger waves? Or is it too much hassle for a few S curls?

Don't forget to check out my facebook page: https://www.facebook.com/Ruth.E.Moulden.MUA?ref=tn_tnmn

xRx

Saturday 8 December 2012

Haigh Hall Vintage and Retro Craft Fair and upcoming Betty & Co Christmas Fair

Well another few busy week of teaching and vintage fair-ness.

I was lucky to be involved with Vibrant Vintages' Vintage and Retro Craft Fair organised by the lovely Victoria Claire. It was held in the beautiful grounds of Haigh Hall and was a lovely day. The Hall was beautiful, its the first time I have ever been and I couldn't believe how big it was. They had stalls of pretty clothes, accessories, decorations and cakes downstairs and also upstairs along with Bexi Owen singing and Chorley Brass Band to keep the entertainment flowing.
I had such a good time, chatting to people, doing treatments and gain some good contacts. Not to mention saw (and bought) some lovely vintage/retro things. 


Am really enjoying doing these vintage fairs, its something that I want to keep going and fit my teaching round. I did meet a lovely lady called Bethany Jane Davies who runs an award winning vintage beauty parlor and she was wondering if I would like to join them, that's a dream come true moment right there, I want to continue to grow within the vintage industry and am so greatful for all the opportunities and experiences people are offering me.

My next vintage fair will be another Betty & Co Vintage and Retro Fair which am very excited to join in again. Its on December 15th 10.30 till 5pm at The Moor Suite, Heaton Moor. Come down for your beauty and hair treatment with me! I shall be offering my usual, hairstyles, make overs and nail treatments or maybe you want a package deal to get you ready for a night out or just because you want to be a glamorous pin-up for the day. All you rockabilly dolls and classic vintage beauty's don't miss out on this wonderful day out!

Next blog will be about my airbrushing adventures with my students!
xRx

Thursday 15 November 2012

Lime Crime review and upcoming vintage fair.

Busy week as usual.
I have been organising my media make-up level 2 and 3 students in their body art and face art competitions and oh my goodness was it stressful. Models not turning up, students getting all flustered and saying they can't do it, usual things really. But they all did so so well, I had to quickly rush out at the end due to a doctors appointment so I missed the winners of the body art but big well done and fab job to Alex, Peggie and Julia who did amazingly and received prizes....next stop Blackpool AHT competition for them!! I find out the winners of the body art tomorrow!

And now my review on the fabulous Lime Crime, eyeshadow helper. Now I was first introduced to this product by a fellow rockabilly enthusiastic make-up artist and I thought I would give it a go, my only problem was choosing which site to buy it from...I settled on Cosmetic Cocktail.co.uk as I also purchased a few other  bits and pieces (OOC airbrush foundations, review to come soon, my Level 3 students have their first airbrush lesson with me tomorrow so photos and reactions will be included!)


Its not priced too expensive and when it arrive it came in the cutest packaging.
The great thing about this product is a little does go a long way and the texture and thickness isn't too much that you feel like your eyes are weighted down. It glides on easily and I found the best way to apply is using your ring finger rather than a brush ,then the product gets a chance to warm up.
Its smooth finish and once you apply the eyeshadow over the top it enhances the pigmentation and just gives a really nice even base.  The lasting power of this little wonder is amazing, it will last you a full day with absolutely no creasing or smudging. With my days teaching or doing my freelance work am constantly running about trying to sorting things out and even a full day of that doesn't affect my eyeshadow where as before I could bet that usually by mid-afternoon there would be some creasing. Its waterproof, sweat proof and works wonders on even oily lids. I would recommend this product to everyone, its the best eyeshadow primer that I have used and am pretty sure that my next wage is going on the Lime Crime eye shadows as am sure those will be just as good a product as this one.

Even works wonders for gluing my shiny shiny bling bling eye shadows!!


So my next news of the week is my up coming appearance at the lovely Victoria Claire's Vintage and retro craft fair with my pop up retro and vintage salon. Just like at Betty & Co vintage fair, I will be offering nail, hair and make-up treatments so come along, its going to a fab day. I have added a few more hairstyles to my booklet, sneak peak here.....


Rockabilly Gypsy Rose Lee.


Bumper Roll
 Its on Sunday 18th Nov, Haigh Hall, Wigan from 10am till 4pm and admission is just £1. To check out who else is going to be attending as well as my prices list please take a look at their website,   http://www.vibrantvintage.co.uk/category/events/

I shall be sure to have a review of the fair and how it all went next time along with a little about my airbrushing lesson and the OOC products I recently bought!


Now am off to dye my hair! 


xRx


Friday 9 November 2012

Betty and Co Vintage Fair

It has been such a long time since I've last updated my blog and that's mainly because am working almost none stop which is a nice feeling!
So where to start I suppose I should start at my first vintage fair doing hair and make-up at the lovely Betty & Co. It was amazing! I had such a good time and talked to a lot of lovely people and the fabulously rockabilly organise Leanne who is a shining star for giving me this opportunity!


It was such a good experience for me and now am booked for another vintage fair in Wigan with Vibrant Vintage as well as Betty & Co's Christmas vintage fair so its all taking off and going well!

I also made some rockabilly hair scarves and bandannas which seem to fit nicely with what I was doing.


Me and my lovely sister, Frances who was a bit help to me on the day being my paparazzi and resident cake maker! Also big thanks to Charlene even though she almost bought almost everything at the fair!!! And the biggest thanks ever to my lovely partner Karlos for putting up with my stresses, driving to the event and talking to clients when I was working.

So new dates and hopefully some leaflets to follow about 18th Nov Haigh Hall Vintage and Retro Craft Fair as well as Betty & Co's Christmas Fair 15th Dec at the Moor Suite, Heaton Moor.

So in my next blog I shall be putting a review up of lime crime eye shadow primer and also a lovely item I bought from Betty & Co!

xRx


Monday 8 October 2012

Busy Bee I am...review of precision ink, lessons, pop up salons oh my!


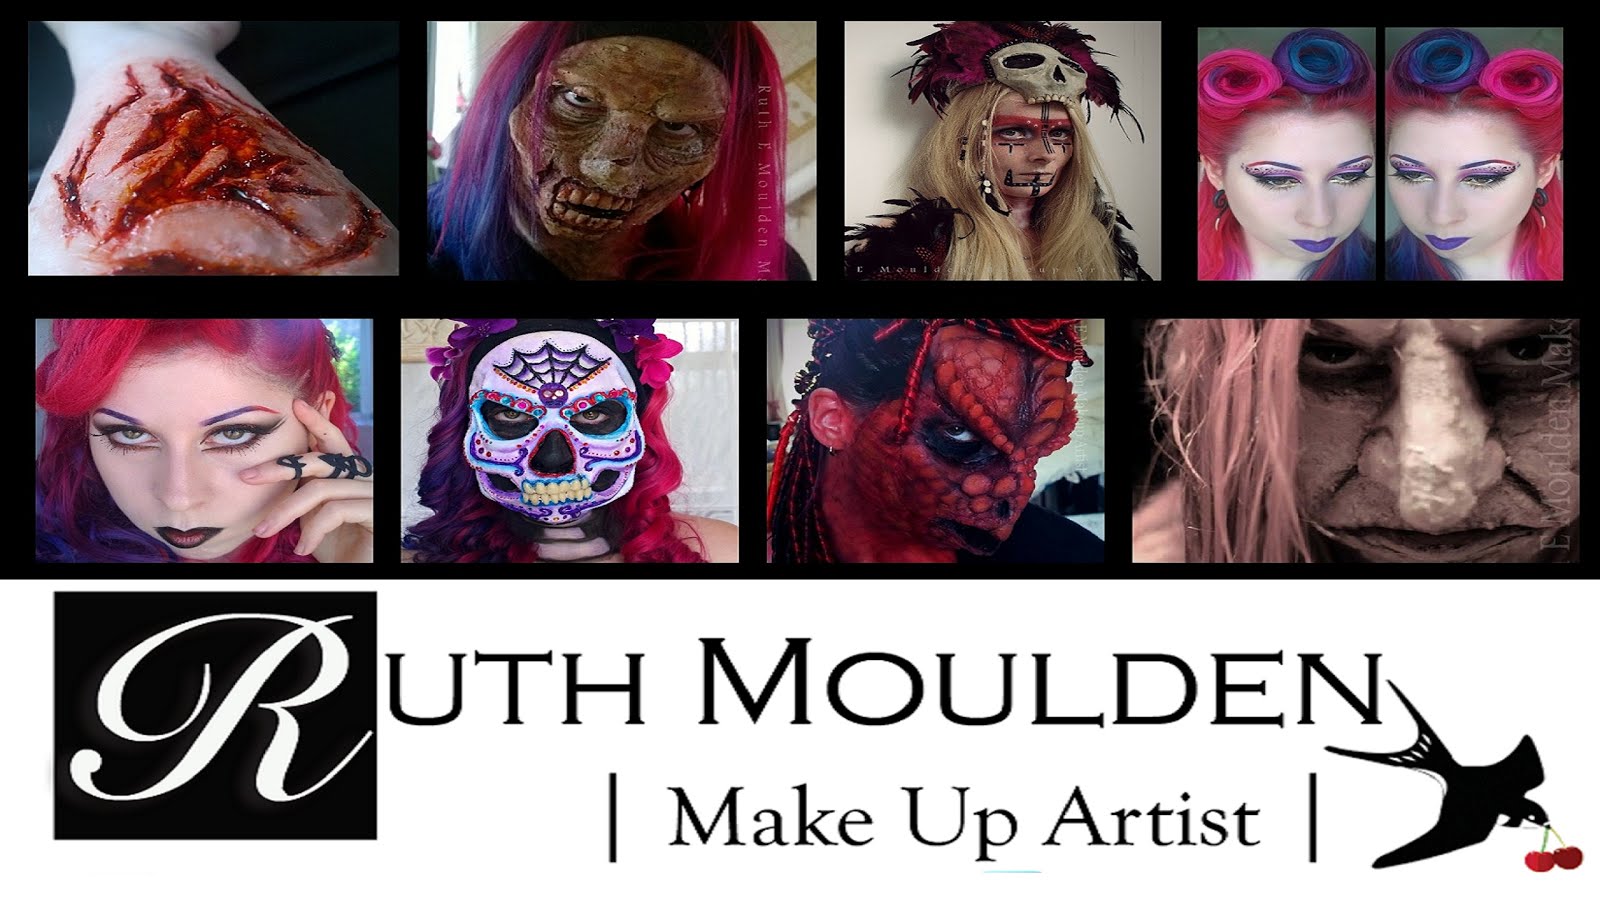
So it has to be said I have been so uber busy lately with teaching and organizing my pop up vintage salon it has been crazy busy.

Teaching has been really fun, last week I had my level 2 create animal face paint design think about create it into a 3D design with adding highlights and shadows in the appropriate places. They really went for it, I had lemurs running round, tigers, leopards, birds, snakes and a pretty cartoon cat.
Have to get them ready for the AHT comps, really want some winners from my class, I believe we can winner a few prizes but its just getting them working on their days off....

My level 3 Media Make-up group are also doing fantastically well with their fashion formative assessments, all merits and distinctions and some of the designs were amazingly clever mixing various cultures and traditions in with fashion trends as well as some inventive use of lashes.


As mentioned before I am going to do a proper review of Illamasqua's precision ink eye liner in "scribe". With photos!!


So the product packaging is neat, compact and just want you want in an eye liner, fits in your kits nicely. The colour is fantastic, stark white...white as white can be. Its the only product I have found that is true white and the lasting power on this is amazing. Literally having to use oily based product to get it off my eyelids at night, not matter what the heat/rain/storms/wind/crying it holds up. I even accidentally rubbed my eye and it was still in place!!
What I love about the product as well is the applicator, its really fine long tip which means I can neatly and precisely line the inner corners of my eyes with ease and as I have a habit of drawing double lines its so quick and easy with this tip. Unlike other eyeliners, it can also be used over eye shadows and doesn't pick up the colour so your not constantly cleaning the applicator.


The product also doubles up as a nail art pen, all you do is draw on your nail and apply top coat, its that simple. You can also create some beautifully intricate designs up your fingers on the skin and it will last the night!
Illamasqua's precision ink eyeliners do come in a variety of different colours such as  Alchemy (gold, I also have this one and its beautiful with black dramatic eyes sample in the photo below), Glister (pealised nude colour), Wisedom (antiques gold colour), Havoc ( aubergine) and Abyss (rich black) All can be used as nail art pens and all amazing for applying detail work to any make-up look.


As some of my students are using 1960s style for their fashion make-ups I have create my own simple 60s inspired look. Love black lips!!!
So there a little low down on whats going on, also my vintage pop up salon will be at Betty and Co Vintage fair on the 13th October 10.30 till 5pm at The Moor Suite, Heaton Moor, Stockport, come along and see me for a rockabilly or vintage make-over, or a new hair do or a lovely mini manicure!!
Come see me!! For more information on the event message me on here or my facebook page, until next time my lovelies, stay creative!

xRx

Saturday 8 September 2012

The Rockabilly Wave

I created this little Rockabilly creatation a few weeks ago and feel like sharing it to the world now. The white eye liner above the black was done using Illasmasqua's eyeliner in Scribe, its a fantasic product and goes on really easily. Add bonus is it can be doubled up and used to do nail art designs! 2 for 1 in a make-up product definately a must in my kit! The staying power is also amazing, once its on its on for as long as you need it to be, downside to that is you must be precise with the application as it can be difficult to tidy up any mistakes.

This is only a mini review of the product and at some point I will do examples of it by itself and used as nail art.

Also to follow soon is my write up of my lesson on Fashion and Photographic make-up that I did for Media Make-up Level 3 yesterday.

xRx

Friday 7 September 2012

First Post

This is my first post on this blog, have to admit took me a while to figure things out and get it looking almost perfect. I shall be posting a more detailed blog soon about what I've been teaching at college recently and also a review about some products I've recently got but for now its just hello and welcome to my make-up world!

If anyone whats to request any looks or anything like that please please message me and I shall do my best to fullfill.

xRx